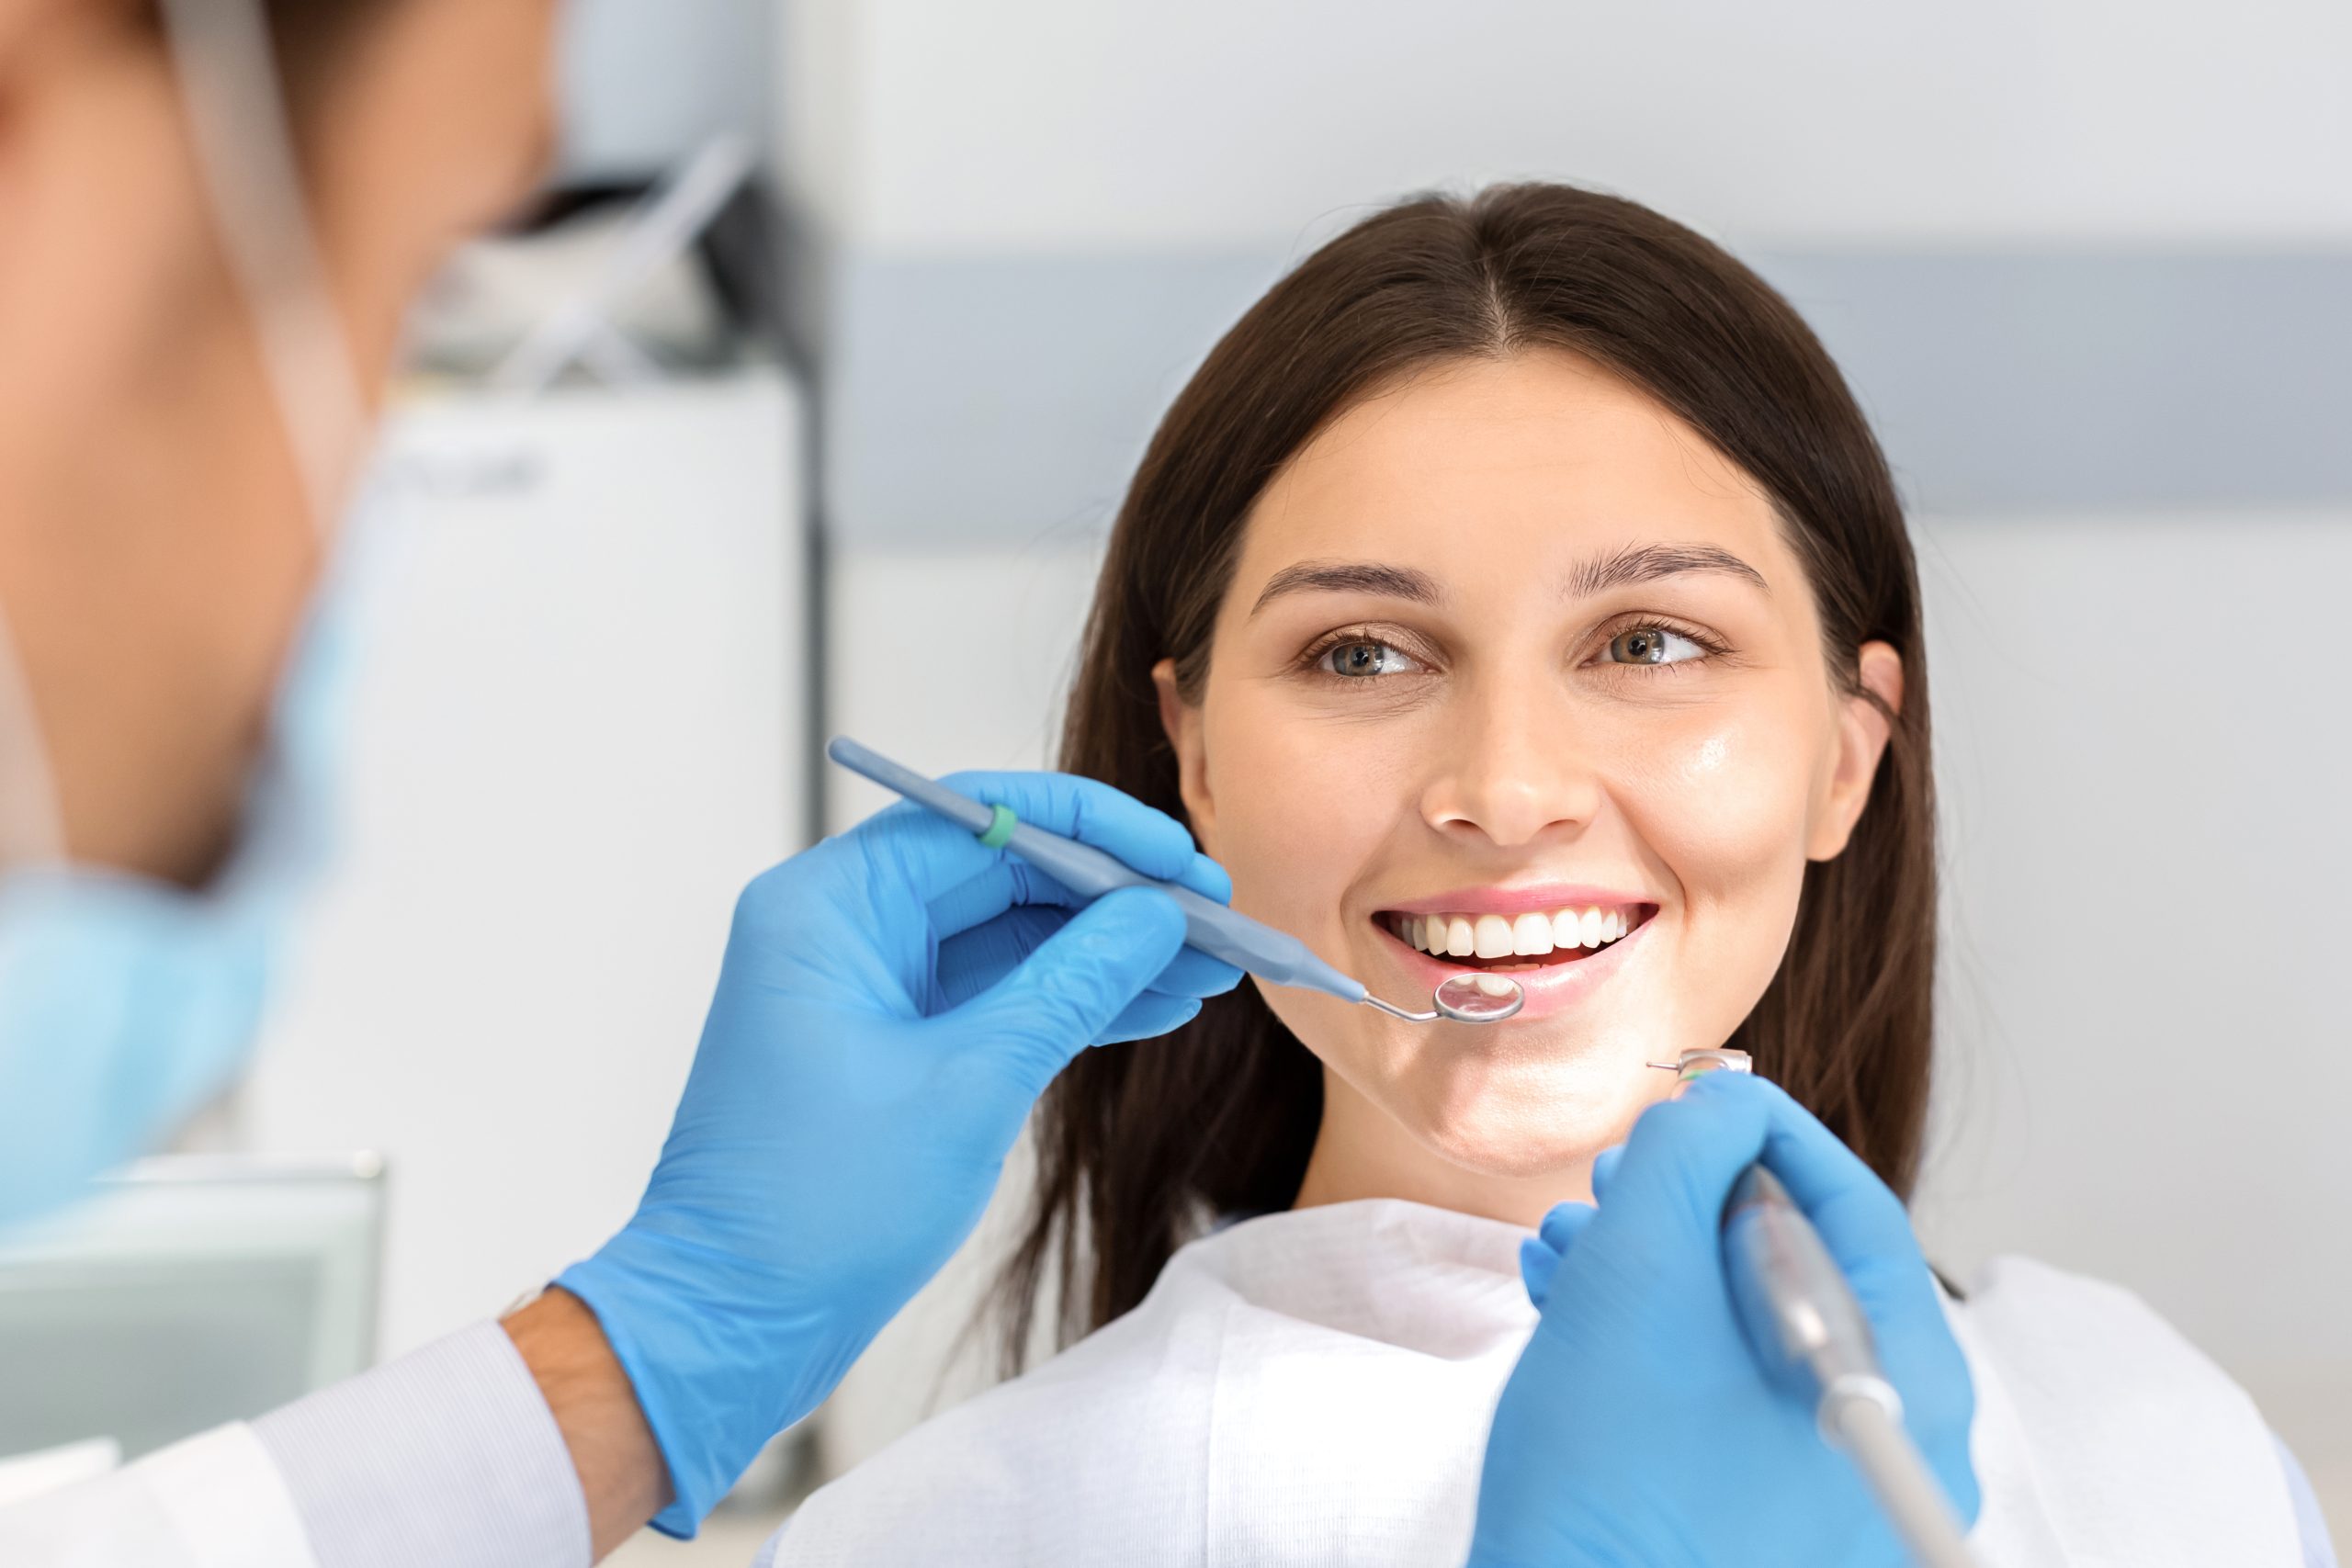
A dental whitening procedure is a professionally supervised treatment designed to lighten the natural colour of your teeth using peroxide-based gels under controlled conditions. In Australia, this process typically involves an initial dental assessment, gum and soft tissue protection, whitening gel application, activation cycles, and personalised aftercare.
In this article, you’ll discover exactly what happens during a dental whitening procedure, how long it takes, what to expect during each step, and how to maintain your results safely and effectively. This comprehensive guide is tailored for Australians considering professional whitening, whether in-chair or combined with take-home kits.
What Happens During a Dental Whitening Procedure?
How long does a dental whitening procedure take? Around 60 to 90 minutes for an in-chair session.
What steps are involved? Assessment → cleaning → gum protection → gel application → activation cycles → rinse → aftercare.
Does it hurt? Most patients experience only mild, temporary sensitivity.
Can I do it at home? Yes, but only with dentist-approved take-home kits for safe, gradual whitening.
When will I see results? Many notice whiter teeth immediately after the first session.
Why Understanding the Procedure Matters
If you’re considering teeth whitening, knowing what actually happens during the procedure helps you feel prepared and confident. Many Australians wonder if the process is painful, how long it lasts, and whether it’s safe. By understanding each stage of treatment, you’ll make an informed decision that suits your dental goals and comfort level.
Step-by-Step: What Happens During a Dental Whitening Procedure
Below is a detailed breakdown of what usually happens during a professional whitening appointment at an Australian dental clinic.
Step 1: Consultation & Assessment
The process begins with a consultation to ensure whitening is right for you. Your dentist will:
- Review your medical and dental history.
- Examine your gums, enamel, and any existing restorations.
- Identify potential causes of discolouration.
- Record your current tooth shade for comparison.
This evaluation ensures the whitening treatment is suitable and safe before proceeding.
Step 2: Pre-Cleaning and Surface Preparation
A clean surface is essential for effective whitening. Your dentist will:
- Perform a professional clean to remove plaque and surface stains.
- Dry the teeth thoroughly for better gel contact.
- Place retractors to keep lips and cheeks clear.
- Prepare cotton rolls or suction devices to manage saliva.
This step allows the whitening gel to work directly on clean enamel surfaces.
Step 3: Gum and Soft Tissue Protection
Your dentist will protect your gums and other soft tissues using a gingival barrier, a thin resin material that’s applied around the teeth and light-cured to harden.
This barrier prevents the whitening gel from touching your gums, which could cause irritation or sensitivity. Extra cotton rolls or gauze may also be used for added isolation.
Step 4: Application of Whitening Gel
The whitening gel typically hydrogen peroxide or carbamide peroxide — is carefully applied to the visible tooth surfaces using a brush or syringe.
- Only the enamel is covered, avoiding gums and dental restorations.
- The gel concentration varies depending on the whitening system used.
- Only registered dental professionals in Australia can use gels stronger than 6% hydrogen peroxide.
This step is where the active whitening begins, with the gel working to break down stains and lighten enamel.
Step 5: Activation and Exposure Cycles
Depending on the whitening system, your dentist may use LED light or laser activation to accelerate the process.
Here’s what typically happens:
- The gel remains on the teeth for 8–15 minutes per cycle.
- After each cycle, the gel is suctioned off and replaced with a fresh layer.
- Two to four cycles are usually performed.
- The dentist monitors your comfort throughout.
The total whitening phase lasts 30–60 minutes, depending on how your teeth respond.
Step 6: Gel Removal and Rinsing
Once the whitening cycles are complete, the dentist removes all gel residues and rinses your mouth thoroughly. The protective gum barrier is also carefully removed, and the soft tissues are checked for any signs of irritation.
Step 7: Shade Check and Results
After rinsing, the dentist compares your new tooth shade against the original reference. Many patients achieve noticeably whiter teeth often several shades lighter after just one appointment. Photographs may also be taken to document the improvement.
Step 8: Fluoride or Desensitising Treatment
A fluoride varnish or desensitising gel is applied to help reduce temporary sensitivity that can occur after whitening.
Your dentist will then provide you with aftercare instructions, including:
- Avoiding coffee, tea, red wine, and strongly coloured foods for 24–48 hours.
- Using sensitive toothpaste for a few days.
- Brushing gently with a soft toothbrush.
- Avoiding smoking or coloured mouthwash immediately after treatment.
Step 9: Optional Take-Home Whitening Kit
Many Australian dental clinics offer a professional take-home whitening kit to maintain and fine-tune your results.
This usually includes:
- Custom-made whitening trays fitted to your teeth.
- A lower-concentration whitening gel for safe home use.
- Instructions on how long and how often to wear the trays.
Using your take-home kit for a few nights can extend the longevity of your in-chair results.
Typical Time Breakdown
| Step | Duration | Key Activities |
| Consultation | 5–10 minutes | Assessment, shade recording |
| Cleaning | 5–10 minutes | Plaque and stain removal |
| Gum Protection | 2–5 minutes | Gingival barrier placement |
| Whitening Cycles | 30–60 minutes | Gel application and activation |
| Rinsing | 5 minutes | Gel removal, inspection |
| Shade Check | 5 minutes | Compare results |
| Desensitising | 2–3 minutes | Fluoride or gel application |
Total chair time: 60–90 minutes
Safety, Sensitivity and Results
Common Side Effects
- Temporary tooth sensitivity (especially to cold)
- Mild gum irritation if gel contacts soft tissue
- Slight unevenness in whitening if enamel varies
These effects are short-lived and usually resolve within 24–48 hours.
How Dentists Minimise Risks
- Using a gingival barrier to protect gums.
- Adjusting exposure times based on your sensitivity.
- Applying fluoride or potassium nitrate gels to soothe teeth.
- Providing aftercare instructions to prevent discomfort.
Professional supervision ensures whitening remains both effective and safe.
How to Prepare for Your Whitening Appointment
- Brush and floss the night before your appointment.
- Avoid staining foods or drinks like coffee or wine for 24 hours prior.
- Share details about any dental restorations or sensitivities.
- Set aside about 90 minutes for your appointment.
- Eat a light meal beforehand to avoid hunger during the session.
Being prepared ensures your session runs smoothly and comfortably.
What to Expect During the Procedure
- You’ll sit comfortably in the dental chair with protective eyewear.
- Lips and cheeks are kept away from the teeth using retractors.
- You may feel a cool, tingling sensation as the gel activates.
- Some temporary tooth sensitivity is normal.
- The dentist will monitor you closely throughout.
Most patients find the process surprisingly easy and relaxing.
How Long Results Last
Results typically last 6 to 12 months, depending on lifestyle and oral hygiene. To maintain brightness:
- Brush twice daily and floss regularly.
- Avoid frequent exposure to coffee, tea, or tobacco.
- Schedule periodic touch-ups using your take-home kit.
- Visit your dentist for professional cleaning every six months.
With proper care, your whiter smile can last well beyond a year.
FAQs
- Is dental whitening painful?
No. While you may feel mild sensitivity, it usually subsides within a day or two. - How soon can I eat or drink?
Wait about 30–60 minutes after your session and avoid coloured foods or drinks for 24 hours. - Can crowns or fillings be whitened?
No, restorations don’t change colour. Your dentist can adjust or replace them to match your new shade. - Will whitening damage my enamel?
When done professionally, whitening doesn’t harm enamel. The gel targets stains, not the tooth structure. - How often should I have whitening done?
Usually once a year, with touch-ups every few months if needed.
Conclusion
A professional dental whitening procedure is a precise, safe, and effective way to enhance your smile under expert supervision. From the initial assessment to the final shade check, every step is designed to maximise results while protecting your enamel and gums.
If you’re considering whitening, consult your dentist for a personalised plan suited to your teeth, budget, and lifestyle. A brighter, healthier smile may be just one appointment away to Leederville Dental located at Mt. Hawthorn.